Practical Guide to Creating Login and Registration Using Laravel Auth
Step-by-Step Tutorial for Developers
Key Features of Laravel Authentication
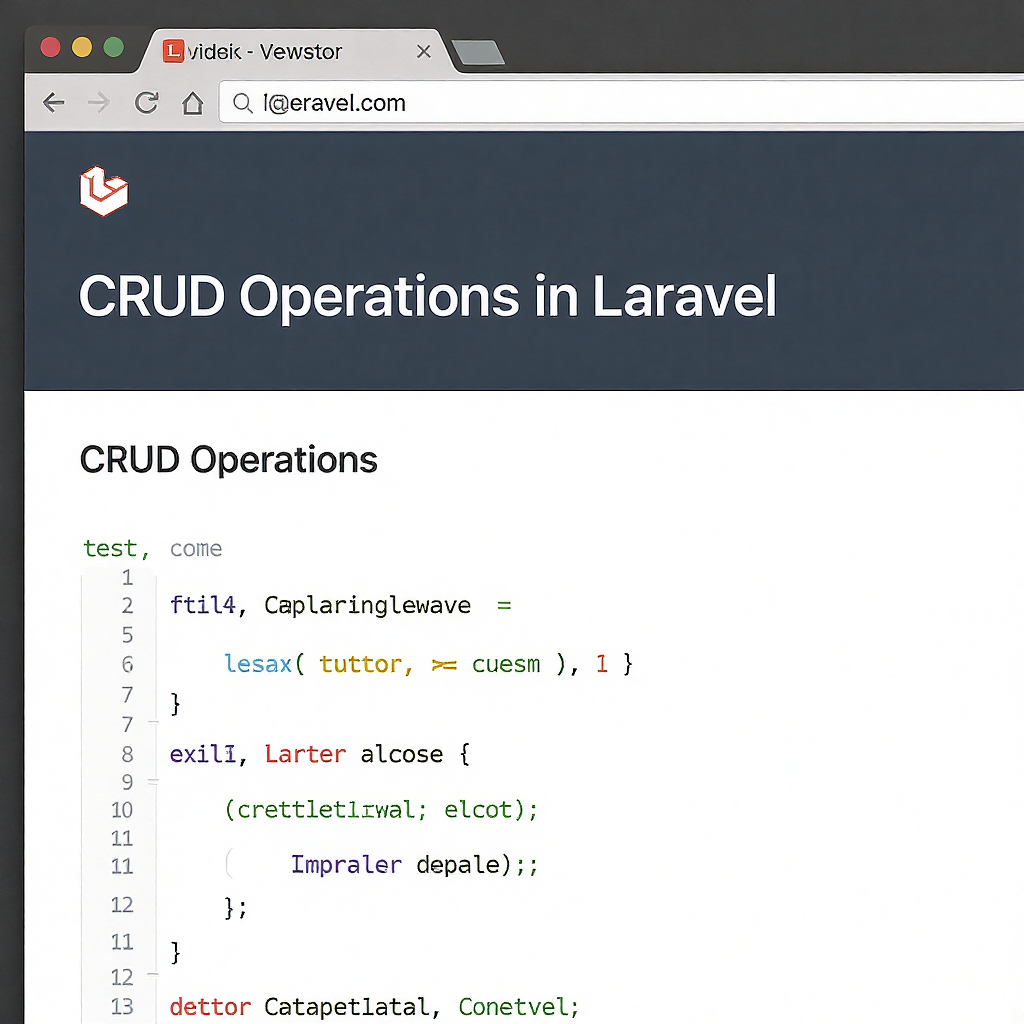
Creating a secure login and registration system is essential for any web application. Laravel provides a robust authentication system out of the box, making it easier for developers to implement these features without reinventing the wheel. In this article, we will walk you through the steps to create a login and registration system using Laravel's built-in authentication features.
First, ensure you have Laravel installed on your machine. You can set up a new Laravel project by running the command composer create-project --prefer-dist laravel/laravel yourProjectName. Once your project is ready, navigate into your project directory and run php artisan make:auth. This command will generate the necessary views and routes for authentication.
Next, you need to set up your database configuration in the .env file. Make sure to create a new database and update the DB_DATABASE, DB_USERNAME, and DB_PASSWORD fields accordingly. After configuring the database, run php artisan migrate to create the required tables for user authentication.
Once your database is set up, you can customize the generated views located in the resources/views/auth directory. You can modify the login.blade.php and register.blade.php files to fit your application's design and requirements. This is also the place to add any additional fields you might need for user registration.
After customizing the views, you can test the registration and login functionality. Start your local development server using the command php artisan serve and navigate to http://localhost:8000/register to create a new account. Once registered, you can log in through http://localhost:8000/login. Laravel handles user sessions and authentication seamlessly.
In conclusion, Laravel makes it easy to implement login and registration features thanks to its built-in authentication system. By following the steps outlined in this guide, you can quickly get a secure authentication system up and running. Don't forget to explore Laravel's documentation for more advanced features and customization options!
| Step | Description |
|---|---|
| 1 | Install Laravel and create a new project. |
| 2 | Run 'php artisan make:auth' to generate auth scaffolding. |
| 3 | Configure your database in the .env file. |
| 4 | Migrate the database to create auth tables. |
| 5 | Customize the auth views as per your design. |
| 6 |
Media di Artikel ini (klik gamabar untuk memperbesar)Postingan TerkaitJasa IoT di Karanganyar: Solusi untuk MahasiswaJasa IoT, Karanganyar, solusi IoT, mahasiswa, teknologi IoT, pengembangan IoT, pendidikan IoT, inovasi teknologi, layanan IoT, smart campus, Internet of Things, aplikasi IoT, solusi digital, proyek IoT, pembelajaran IoT, perangkat cerdas, konektivitas, efisiensi mahasiswa, teknologi masa depan, jasa teknologi, Karanganyar untuk mahasiswa, pengembangan keterampilan, kolaborasi teknologi, transformasi digital, solusi pintar. Arduino dan Bahasa Pemrograman: Pilihan Terbaik untuk Pemulameta keyword: Arduino, bahasa pemrograman, pemula, belajar Arduino, pengenalan Arduino, proyek Arduino, tutorial Arduino, pemrograman untuk pemula, elektronik, coding, teknologi, robotika, pendidikan, perangkat keras, pengembangan proyek, komunitas Arduino, inovasi teknologi, hobi elektronik, cara belajar pemrograman, alat belajar pemrograman, mikrocontroller, DIY Arduino, pengembangan keterampilan, industri kreatif. Maksimalkan Proyek Anda dengan Jasa Arduino Profesional di KaranganyarMeta Keywords: jasa Arduino profesional, proyek Arduino Karanganyar, layanan Arduino terbaik, pengembangan proyek elektronik, solusi Arduino Karanganyar, konsultan Arduino, jasa pengembangan perangkat keras, inovasi teknologi Karanganyar, pelatihan Arduino, proyek berbasis Arduino, ahli Arduino Karanganyar, layanan teknis Arduino, desain proyek elektronik, komunitas Arduino Karanganyar, pemrograman Arduino. |


