Complete Tutorial on Implementing Auth in Laravel
Step-by-Step Guide for Laravel Authentication
Mastering Laravel Auth System
Laravel provides a robust authentication system that makes it easier to incorporate user login, registration, and management functionalities into your web applications. Whether you are building a simple blog or a complex application, implementing authentication is essential for securing user data.
Firstly, you need to set up a new Laravel project. You can do this by running the Composer command: composer create-project --prefer-dist laravel/laravel yourProjectName. After setting up the project, navigate to the project directory to start configuring the authentication system.
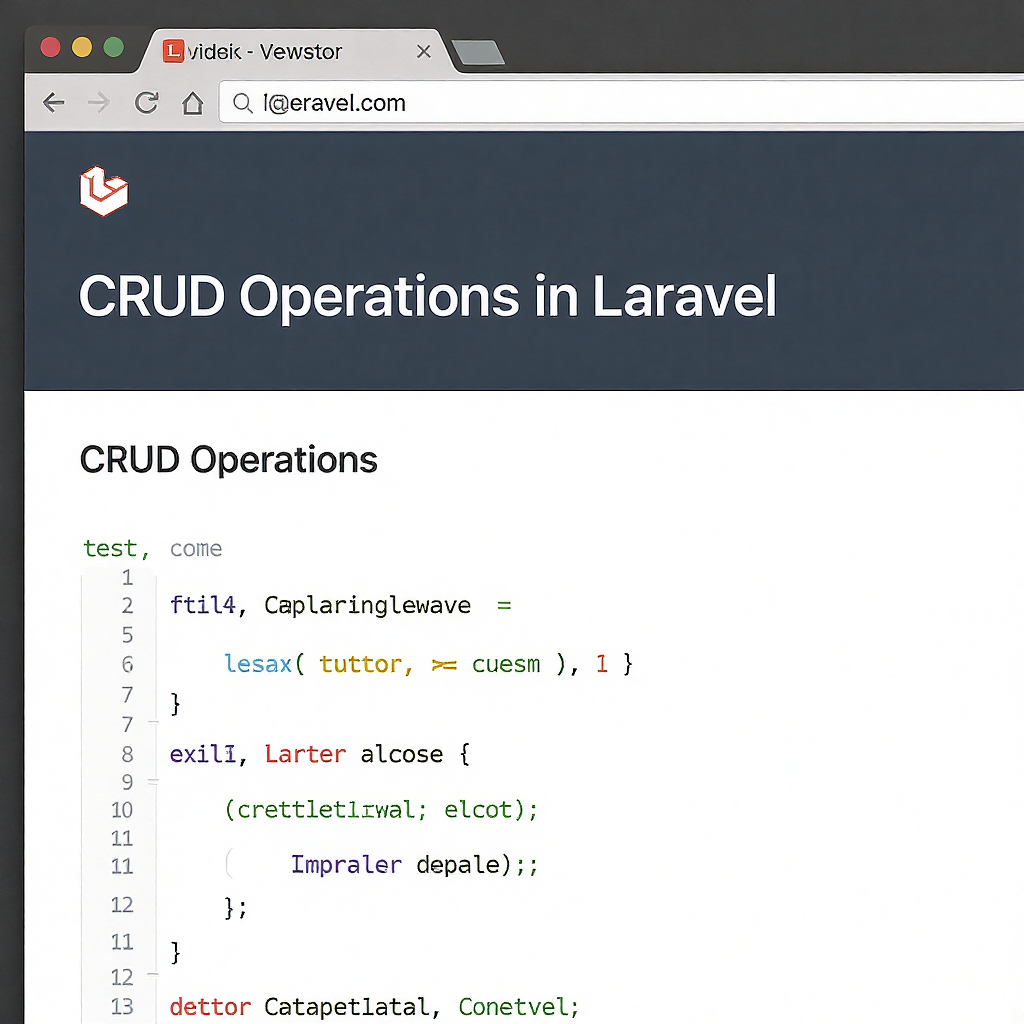
Next, Laravel offers built-in authentication scaffolding. You can install this by running the command: php artisan make:auth. This command will generate all necessary routes, controllers, and views for user authentication, saving you a lot of time.
Once the scaffolding is set up, you can customize the authentication views located in the resources/views/auth directory. Laravel makes it easy to modify these templates to match your application's design. You can adjust styles, add logos, and change texts as needed.
After customizing the views, you will need to set up the database. Configure your database settings in the .env file. Create a new database and run the migration command: php artisan migrate. This will create the necessary tables for users and authentication.
Finally, test your authentication system by running the local server with php artisan serve. Access your application in the browser and ensure that registration, login, and logout functionalities are working correctly.
| Step | Description |
|---|---|
| 1 | Create a new Laravel project |
| 2 | Run the auth scaffolding command |
| 3 | Customize authentication views |
| 4 | Set up the database and run migrations |
| 5 | Test the authentication in the browser |
For further assistance, feel free to reach out via WhatsApp.
Website: codingchan.com.
Address: .